Keurig Guides
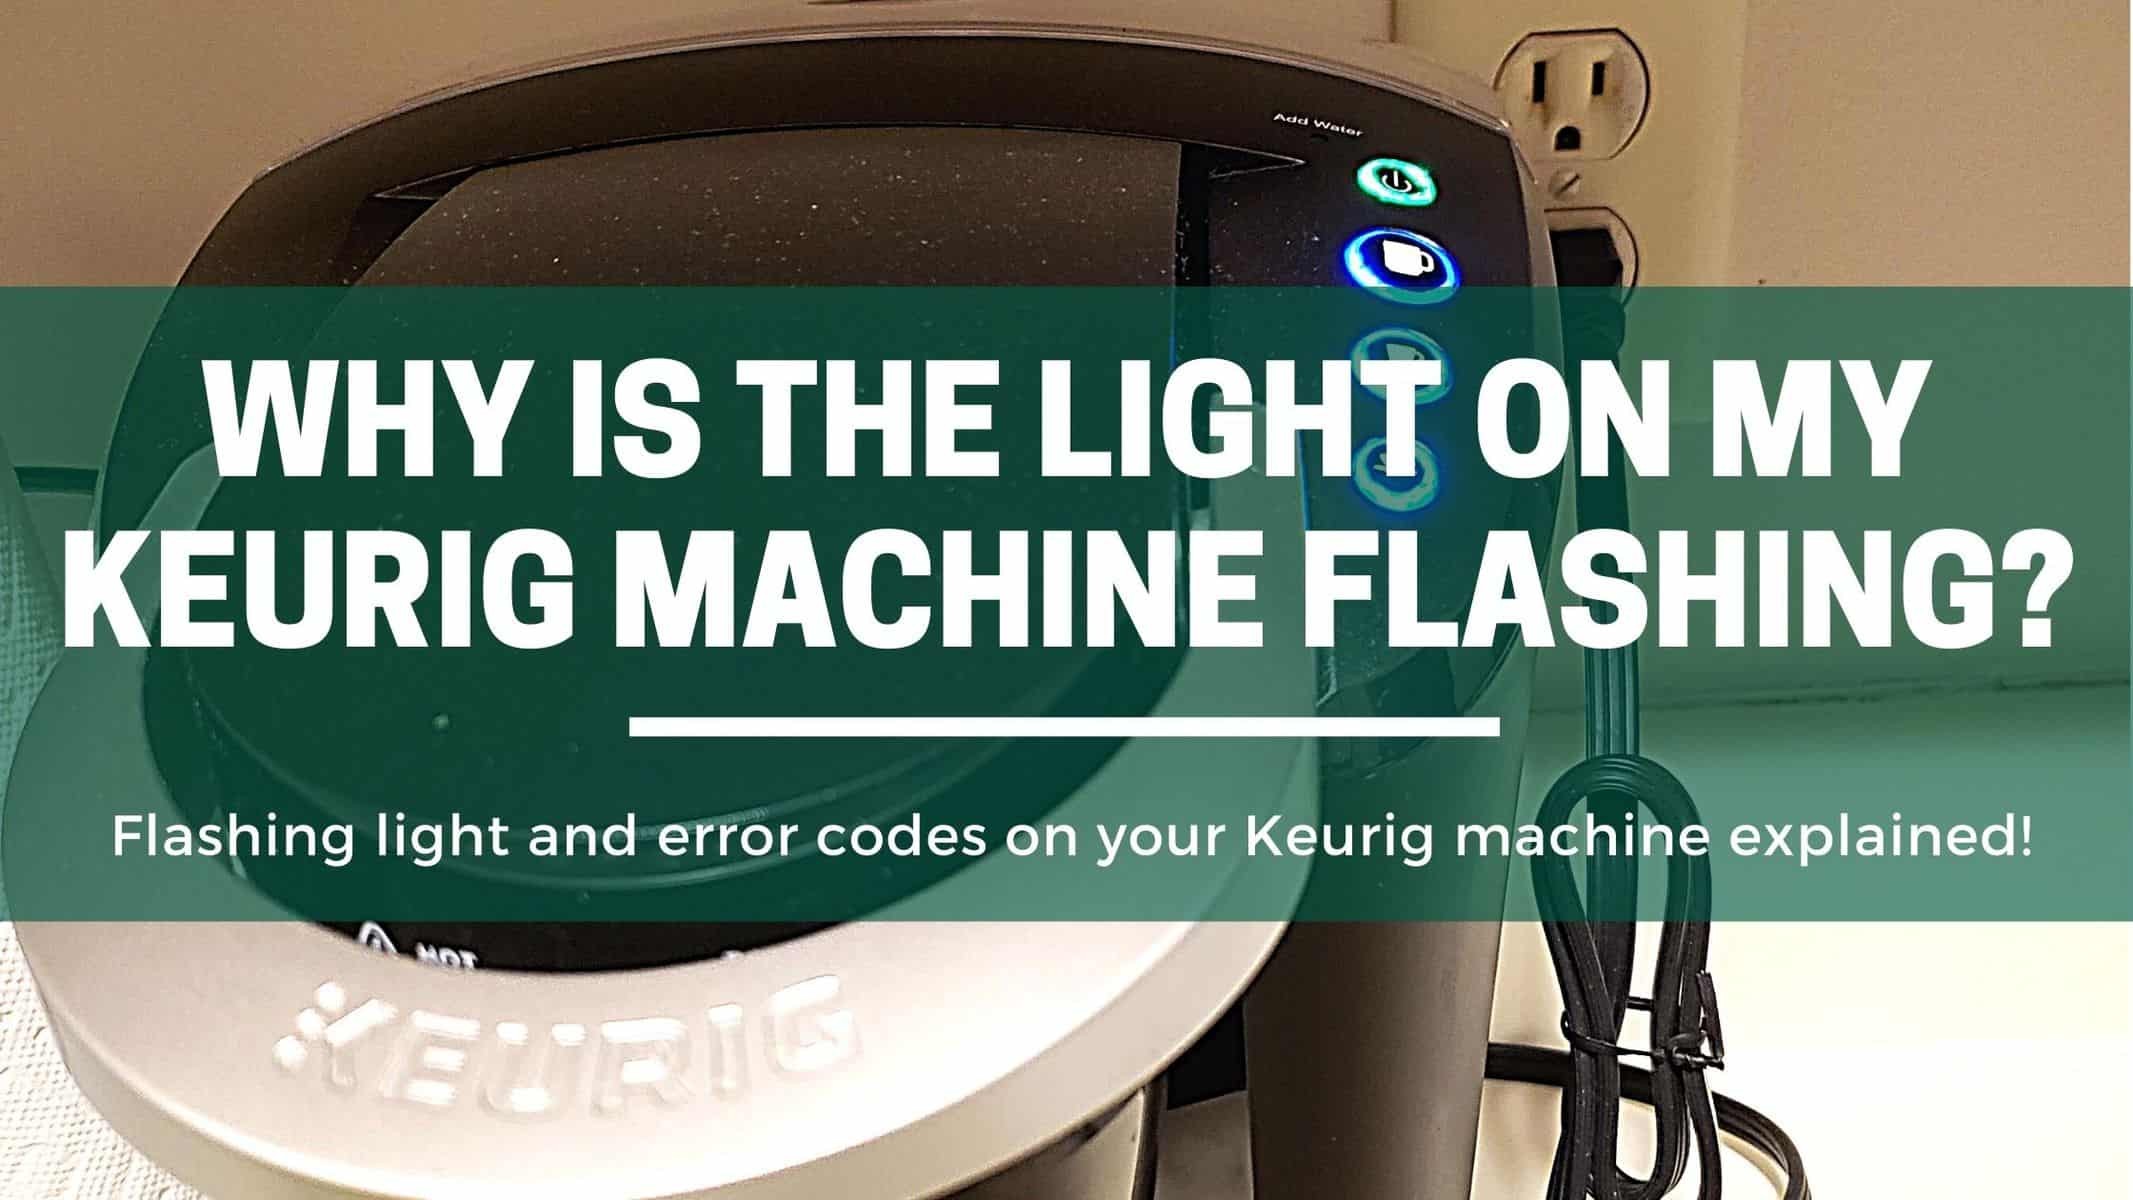
10 Reasons Why The Light On Your Keurig Machine Is Flashing (And How To Fix It!)
The morning dash – we’ve all been there. Already 5 minutes late, but at the risk of being even later, there still seems to be time to snatch a cup of coffee before hurtling out the door.
With Keurig that should be easy! Capsule – close – extract – done.
But sometimes the world spits the dummy. The last thing we want to deal with (especially in an uncaffeinated state) is waking up to see that our beloved Keurig machine has lights blinking madly and is refusing to work.
Why Listen To Us? Well, because we KNOW coffee! In fact, we make our own coffee, coffee machine cleaners, and reusable capsules which we've sold to over 41 countries. Our team ouf experts include Tristan (an engineer), Claire (a food writer) and Richy (a barista). So, whether you're looking for a recipe or repair guide, we've got you covered 💚
Table of Contents
How do Keurig coffee machines work?
Keurig have their own style of coffee capsule called K-Cups. These are small sealed pods of ground coffee in the exact right amound and grind to make the perfect brew.
Simply insert the capsule into the coffee maker, select the size drink you want, and watch the machine work its magic. It will puncture holes in both ends of the pod and forces water through the ground coffee in the pod and down into your mug.
All up, the whole process takes less than a minute!
How long to Keurigs last?
Keurig offers a one-year warranty on all of its home coffee makers, under usual everyday use. That means you’re covered for the first year of your coffee maker’s life, but consumers generally report that their Keurig coffee makers can last from between two to five years. To make the most out of your machine, then, it’s advised to keep up regular maintenance and follow the top tips below.
With good care and regular descaling, your Keurig machine can easily last ten years or more!
What is the normal operation for your Keurig?
When the Keurig coffee maker is under normal operation, the button of the brewer will light red when it’s heating up, and it will change to solid red when continuing to brew. However, if the coffee maker flashes red continuously for over three minutes, it might be a result of a problem. And the common problems you might encounter in such circumstances might be one of the below reasons.
Why is the light on my Keurig coffee machine flashing?
So, what is this happening and why does it mean for your Keurig coffee machine? That’s the reason we’re putting together this post. We’ll take you through of number why your coffee machine flashes a blue light, red light, etc. In a closer dimension, we’ll see why these lights appear and the best solutions to remedy the problem. That being said, let’s find out more.
Trying to decipher what the root cause is can be challenging, and let’s be fair, who has actually read the user manual? Luckily, there are a few common Nespresso machine problems that could be the cause behind these blinking lights. Here are the 6 most likely reasons the lights on your Keurig machine keep flashing:
- Your machine needs descaling.
- The ‘Add Water’, ‘Heat’, and ‘Medium Cup’ lights are all flashing.
- Using Reusable K-Cups and packing them too tightly.
- [Keurig Duo] the descale light remains on – needs thorough cleaning.
- A blocked exit needle.
- Blue light flashing when the water reservoir is low.
- The water filter is installed incorrectly.
- The magnet inside the reservoir is dislodged.
- The machine is stuck in ‘Heat Up’ mode.
- The onboard computer is frozen.
1. Your machine needs descaling
This is a common occurrence in most coffee machines and essentially, when this descale red light turns on, it indicates that your coffee machine needs urgent cleaning. The light may come when the particles of dirt or calcium accrue on the inside section of the machine, blocking the machine. The dirt may occur because of the use of hard water, and again it can result in air bubbles, tiny particles, dirt, and loose coffee grounds. At times, this may make the coffee maker stop working when such a problem occurs.
To stop this problem from happening, it is advisable to descale your Keurig coffee maker regularly, preferably every three months. And to make the process easy and straight-forward, here is a step-step cleaning process:
- Switch off your Keurig machine, ensure no power is in the machine
- Free the water filter in the Keurig, and get rid of it
- Get the descaling solution into the machine to get rid of the dirt
- Put on the machine and place a cup underneath
- Pour the combination to a safe place like the sink
- Turn on the coffee maker machine
- Clean the water reservoir
And that is all!
You’ve descaled your machine and it should now be clean inside and out – giving you better, fresher tasting coffee, as well as extending the life of your coffee machine for many more years.
2. The ‘Add Water’, ‘Heat’, and ‘Medium Cup’ lights are all flashing
Step 1: Ensure the Cold Water Reservoir is seated properly. Remove and reseat the Cold Water Reservoir to ensure alignment is correct.
Step 2: Perform a water-only brew on the 6 oz. or 8 oz. size into a measuring cup. If the expected amount of water was not dispensed, continue to step 3. Otherwise, troubleshooting successful – you are ready to brew!
Step 3: Are you using a Water Filter?
- Yes: remove the Water Filter and run a water only brew (no pod) into a measuring cup. If the brew is successful, change the Charcoal Filter and put the Water Filter back in the brewer. If the brew is not successful, proceed to Step 4.
- No: proceed to Step 4
Step 4: Perform three more water only brews (no pods) on the 6 oz. or 8 oz. size into a measuring cup. By the last brew, was the correct amount of water dispensed? Use the measuring cup to determine the exact flow amount.
3. Using Reusable K-Cups and packing them too tightly
This is also another reason that may make the red light flash on the Keurig coffee maker when you’re using a refillable k-cup.
If you pack the k-cup too tightly, with too much coffee, or tamp too hard it will create a lump off coffee to dense for the water to pass through. The machine will interpret this as a blockage in the pipework and, as a result, the descaling light will come on.
The Solution:
To resolve this problem, obviously, the first step is to stop filling the k-cup so tightly. As a rule of thumb, fill it not beyond the required level. As such, the coffee will be brewed without facing any problem. Refill coffee pods loosely, avoid filling them to the brim, and again don’t pack the grounds of coffee down to allow you to fit in more.
If you might doubt whether or not the problem you’re facing is due to packing the coffee too tight, then try removing the pod to see if your coffee machine allows you to run a pod-less coffee-making cycle.
4. [Keurig Duo] The descale light remains on – needs a thorough cleaning
This other problem needs common to simple fixing procedures. You need to clean your machine for it to work normally. We’re going to take you through a detailed guide to clean the Keurig Duo in some simple steps. Know that, you’ve cleaned your maker, and the light turns on, what you need to do is to press down the 10oz and 8oz for five seconds and the light will disappear.
If you’ve done the descale and they seem not to work, the other problem could be because of excess scale build-up. And to fix such kind of a problem, you need to repeat the process we’ve mentioned above with an added solution. If possible, descale your device using vinegar and leave it to stay for about two hours. Further, if the build-up is greater inside your machine, the use of citric acid will help you in concurring the problem.
Keep in mind that the descale light implies that some particle is preventing the normal water flow, and if it doesn’t disappear, you need to get to know the thing that is blocking the water from flowing via the machine, might be it is a wide cup or a dodgy pipe in your coffee maker.
5. A blocked exit needle
Exit needle can end up being blocked by a tiny bump that becomes so visible on the k-cup. And what pin the bump at the lower side of the cup is a small little. And in a situation where the needle is blocked, as a result of a build-up of coffee that has been grounded, general gunk, you’ll have problems in brewing any kind of coffee.
So, to fix this problem, you need to put a normal sewing needle or even a paper clip and ensure the needle inside is loosened, and finally clean it. In simple ways, put off your machine and unplug it, and take up the handle. From there, you can see the entrance needle under the head. It comes with two tiny holes, so ensure you unclog them. Like we’ve said, use a straightened paper clip, a needle, or a safety pin.
After which you get rid of the pod holder, and the funnel off from the bottom. In there, you should be able to see coming out of the underpart of the holder of the pod. Using either a safety pin, needle, or a clip, remove anything that blocks the tube. Rinse both the funnel and pod holder using tap water to ensure all the particles all removed.
6. Blue light flashing when the water reservoir is low
This is another common warning that your Keurig machine will give you. A flashing blue light typically is an alert that your water reservoir is low or empty!
The Solution:
Simply fill up the water tank with fresh, cold water.
A minimum amount of water is required in almost all K-cup coffee makers to work properly. So, to activate the brewer there is a specific amount of water it needs for the brewer to be activated, and when the reservoir is very low, the machine won’t start at all.
If this doesn’t reset the blue light right away, try turning the machine off and on again before trying to make a cup of coffee.
7. The water filter is installed incorrectly.
If you install the water filter of some models of Keurig coffee maker, there is potential that you’ll run into problems.
Note: This problem is only affecting those machines that have this feature built on them.
Here are the correct steps for installing the filters if you happen to have one of those models that use filters:
- Put the entire filter inside cold water for about 5 seconds
- Put the filter at the lower end of the water handle assembly
- Set the timer dial to 2 months from today’s date to allow you replace at the right time.
In so doing, you’ll not face trouble with your Keurig coffee maker, you’ll continuously enjoy flavorsome coffee at the comfort of your home.
8. The magnet inside the reservoir is dislodged
This is a common problem with Keurig coffee makers and it makes the brewer turn off unexpectedly between brews. It also can cause the red light to flash continuously.
To troubleshoot this problem, get rid of the water reservoir and place it back. The magnet in its reservoir can be dislodged in the process of brewing that comes from the machine vibration.
9. The machine is stuck in ‘Heat Up’ mode.
The message can stay as though it has hung while the red light stays on. This is also another common problem that needs to be resolved in a few steps. This issue will not allow you to use your coffee maker and you may end up wasting a lot of time on in. Here are the key troubleshooting steps to help you out:
- Turn off your coffee maker and disconnect the cable
- Separate the water reservoir
- Wait for five seconds then repeat the step 1& 2
- Return the water reservoir and press the menu button and after the “NOT READY” feedback shows up lower handle.
10. The onboard computer is frozen.
The following solution was designed to enable a Keurig brewer’s “brain” to be reset and get it back into its normal mode of operation.
Step 1: Ensure the brewer is turned off (and at this point, the lights should be blinking, and the brewer isn’t in the middle of any other operation).
Step 2: Press and hold the auto-off button.
Step 3: Press and hold both cup-size buttons (for those brewers with only two cup sizes). For those with three cup size selections, press and hold down the medium and large cup size buttons.
Step 4: Once all the lights go out, release the buttons. The brewer should now turn itself back on, and you should be able to get back to making coffee. If the brewer doesn’t turn on automatically, press the power button.
As with all of our work, we would love to hear from you. In particular, if a proposed solution worked or didn’t work for you. Please use the comments section below or the Contact Us form.
Conclusion
If cleaning your Keurig coffee maker didn’t switch off the flashing lights, you’ll need .to place your machine in the “descale mode” before it can acknowledge that you’ve descaled it. Besides, ensure you’re not overfilling the refillable k-cup with pods, and ensure the exit and entrance needles are unclogged by cleaning them often using a sharp object. After using the tips from this post, the ideal way to keep it from happening is by the use of a water filter system and doing a descale after three months.






Thank you SO much for this fix. I thought I had fried my Keurig when this started happening. This morning I wanted coffee so began my search. IT WORKED! I used your #10 fix. As I enjoy my cup of coffee, I thank the Most High for the internet and for people who are willing to answer questions. Shabbat Shalom and Blessings!
My Keurig was on the fritz for days and I could NOT find any solutions online. FINALLY, I stumbled across this post and the reset for when the onboard computer is frozen worked! Thank you!! I knew I had to leave a comment after that.
That’s awesome to hear! Glad its working now for you
I have a combo pot & cup keurig machine. I cleaned it about a month ago and it was working fine. I thought I would do a good thing and clean it more often. So I put vinegar through it and now all lights are flashing and I’ve tried everything I can find to reset but no luck. All lights are flasing and it won’t do anything.
Hi Brenda, did you try the last suggestion which is to reset the machines computer? That usually resets everything. Cheers
My Keurig power and three lights are on put when I press down my coffee or water won’t come out !
My lights don’t flash either.
Hey Antoinette, what machine do you have? I can think of two things, 1) a componet like the water tank or capsule holders is missing, so the machine won’t run. or, 2) the buttons have worn out – try pushing them extra hard (maybe with a pen)
I have a 2 in 1 Keurig and the oz button cup button and all 3 sizes are flashing continuously none of your tips have worked to fix it please help
thanks for the information but it didn’t help me I have a pot and a pod on my keurig I have a green flashing light on the pot and all the blue light on the 8 10 12 I’ve tried everything on here and nothing worked